
Table of Contents
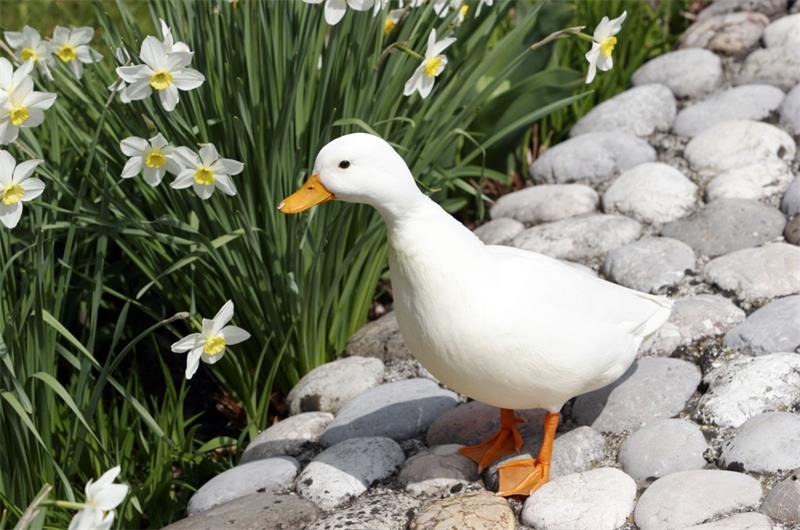
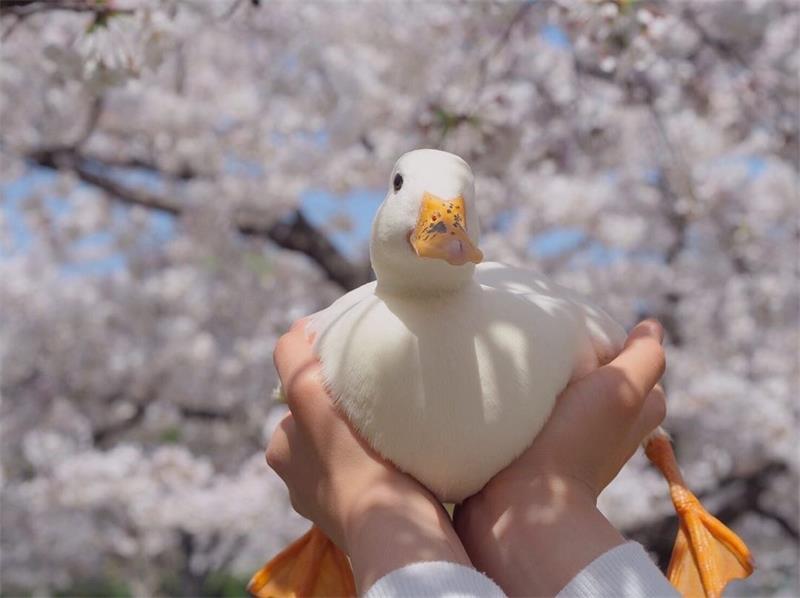
Call ducks are small, cute, and noisy ducks that make great pets or show birds. They are also one of the most difficult breeds of ducks to hatch and raise successfully. Call duck eggs are very sensitive to temperature, humidity, and handling, and often have low hatch rates. Call ducklings are also very fragile and need special care and attention.
If you want to hatch call duck eggs and raise ducklings, you will need to follow some specific steps and tips to increase your chances of success. In this article, we will cover everything you need to know about hatching call duck eggs and raising ducklings, from choosing the right eggs and incubator, to caring for the broody duck or incubator, to feeding and housing the ducklings.
Choosing the Right Eggs and Incubator
The first step to hatching call duck eggs is to choose the right eggs and incubator. You can either buy call duck eggs from a reputable breeder or hatchery, or collect them from your own flock if you have one. You should only choose eggs that are fresh, clean, well-shaped, and free of cracks or defects. You should also avoid eggs that are too large or too small for the breed standard.
You can either hatch call duck eggs naturally by placing them under a broody duck or chicken hen, or artificially by using an egg incubator. Both methods have advantages and disadvantages. Natural incubation is good because the broody bird will take care of the eggs and ducklings for you, but you will have less control over the temperature, humidity, and timing of the hatch. Artificial incubation is good because you can hatch as many eggs as you want, whenever you want, but you will have to monitor and adjust the incubator settings regularly.
If you choose natural incubation, you will need to find a broody duck or chicken hen that is willing and able to sit on the eggs for 28 days (or 35 days for Muscovy ducks). You will also need to provide a clean, dry, sheltered nest box with suitable bedding for the broody bird. You can use straw, hay, wood shavings, or shredded paper as bedding. You should also make sure that the nest box is protected from predators, pests, and other disturbances.
If you choose artificial incubation, you will need to buy or borrow an egg incubator that is suitable for hatching call duck eggs. You should look for an incubator that has a reliable thermostat, a hygrometer (to measure humidity), a fan (to circulate air), an automatic egg turner (or a manual one), and a clear window (to observe the eggs). You should also make sure that the incubator is clean, disinfected, and tested before you use it.
Incubating Call Duck Eggs
The second step to hatching call duck eggs is to incubate them properly. Whether you use natural or artificial incubation, you will need to maintain a consistent temperature and humidity level inside the nest box or incubator. You will also need to turn the eggs regularly (unless you have an automatic turner), candle them occasionally (to check their development), and put them on lockdown (to stop turning them) before they hatch.
Temperature and Humidity
The ideal temperature for incubating call duck eggs is 99.5°F (37.5°C) throughout the incubation period. You should avoid fluctuations of more than 1°F (0.5°C) above or below this temperature. If the temperature is too high or too low, it can affect the development of the embryos and cause deformities or death.
The ideal humidity for incubating call duck eggs is 50-55% (52% is ideal) for the first 25 days of incubation, and 65-70% for the last 3 days of incubation. You should avoid fluctuations of more than 5% above or below these levels. If the humidity is too high or too low, it can affect the size of the air sacs inside the eggs and cause dehydration or drowning.
To maintain the temperature and humidity inside the nest box or incubator, you will need to use a thermometer and a hygrometer (to measure humidity). You can also use a wet bulb thermometer to measure humidity indirectly. You will need to add water to the nest box or incubator as needed to keep the humidity level stable. You should also avoid opening the nest box or incubator unnecessarily, as this can cause temperature and humidity fluctuations.
Turning and Candling
Turning call duck eggs is important to prevent the embryos from sticking to the shell and to ensure even development. You should turn the eggs at least three times a day (or more if possible) for the first 25 days of incubation. You can either use an automatic egg turner that does this for you, or turn them by hand. If you turn them by hand, you should mark each egg with an X on one side and an O on the other, so that you can keep track of which ones you have turned.
Candling call duck eggs is a way of checking their development and viability by shining a bright light through them. You can use a special egg candler, a flashlight, or even sunlight for this purpose. You should candle the eggs in a darkened room and look for signs of life inside the shell. You should candle the eggs at least twice during the incubation period: once around day 7 and once around day 14. You can also handle them before lockdown to make sure they are ready to hatch.
When you handle call duck eggs, you should look for:
- A dark spot with spider-like veins around it. This is the embryo and its blood vessels. This means the egg is fertile and developing normally.
- A clear or yellowish egg with no signs of life. This means the egg is infertile or dead. You should remove these eggs from the nest box or incubator as soon as possible.
- A dark or cloudy egg with no veins or movement. This means the embryo has died or stopped developing. You should also remove these eggs from the nest box or incubator as soon as possible.
- An air sac at the large end of the egg. This is a normal part of the egg that provides oxygen to the embryo. The air sac should grow larger as the incubation progresses, and take up about one-third of the egg by day 25.
- A blood ring around the embryo. This is a sign of early embryonic death caused by bacteria, temperature fluctuations, or genetic defects. You should discard these eggs immediately.
Lockdown
Lockdown is the final stage of incubation when you stop turning the eggs and increase the humidity level to prepare them for hatching. You should put the eggs on lockdown on day 25 for call duck eggs (or day 32 for Muscovy duck eggs). You should also remove any automatic egg turner and lay the eggs on their sides on a wire mesh or paper towel. You should not open the nest box or incubator during a lockdown unless absolutely necessary.
Hatching Call Duck Eggs
The third step to hatching call duck eggs is to wait for them to hatch. This is usually the most exciting and nerve-wracking part of the process, as you watch and listen for signs of life from inside the shell. Call duck eggs usually hatch on day 28 (or day 35 for Muscovy duck eggs), but it can vary depending on individual factors such as temperature, humidity, genetics, and health.
Pipping and Zipping
Pipping is when the duckling breaks through the inner membrane and shell with its egg tooth (a small projection on its beak). This creates a small hole or cracks on
the large end of the egg. This is the first sign that the duckling is ready to hatch. Pipping usually occurs around day 25 for call duck eggs (or day 32 for Muscovy duck eggs), but it can vary depending on individual factors.
Zipping is when the duckling enlarges the hole by rotating inside the egg and cutting a circular line around the shell with its egg tooth. This creates a cap that can be pushed off easily. Zipping usually occurs within 24 hours of pipping, but it can take longer or shorter depending on individual factors.
Hatching and Drying
Hatching is when the duckling pushes off the cap and emerges from the shell. This is usually the most exciting moment of the incubation process, but also the most critical. Hatching can take anywhere from a few minutes to a few hours, depending on individual factors. You should not rush or interfere with the hatching process, unless absolutely necessary.
Drying is when the duckling fluffs up wet down and becomes fluffy and cute. This can take anywhere from a few hours to a day, depending on individual factors. You should leave the duckling in the nest box or incubator until it is fully dry and active, unless there are signs of distress or danger.
Assisting and Troubleshooting
Assisting is when you help a duckling hatch by breaking some of the shell or membrane for it. This should only be done as a last resort, when you are sure that the duckling is alive but unable to hatch by itself. Assisting can be risky and stressful for both you and the duckling, and can cause injuries or infections. You should only assist a duckling if:
- It has been more than 48 hours since it pipped and there is no sign of progress or movement.
- It has been more than 24 hours since it zipped and there is no sign of progress or movement.
- It has pipped but is bleeding or gasping for air.
- It has hatched but is stuck to the shell or membrane by dried blood or fluid.
To assist a duckling, you will need some tools such as tweezers, scissors, q-tips, warm water, and antiseptic. You will also need to be very careful and gentle, and follow these steps:
- Wash your hands and disinfect your tools before you start.
- Increase the humidity level in the nest box or incubator to prevent further drying of the shell or membrane.
- Locate the air sac at the large end of the egg and make a small hole in it with your tweezers or scissors. Make sure you do not puncture any blood vessels or injure the duckling.
- Gently peel off some of the shell or membrane around the hole, following the natural line of zipping. If you see any bright red blood, stop and wait for it to clot before continuing.
- Wet any dry or sticky areas with warm water using a Q-tip. Do not wet any areas that are already moist or bleeding.
- Repeat these steps until you have removed enough shell or membrane for the duckling to push out by itself. Do not remove too much or force the duckling out.
- Put some antiseptic on any wounds or cuts on the duckling using a Q-tip. Do not use alcohol or hydrogen peroxide as they can damage the skin.
- Put the duckling back in the nest box or incubator until it is dry and active.
Troubleshooting is when you deal with any problems or complications that may arise during the hatching process. Some of the common problems or complications are:
- Shrink-wrapped ducklings. This is when the membrane dries out and sticks to the duckling, preventing it from moving or hatching. This can be caused by low humidity, high temperature, or opening the nest box or incubator too often. To prevent this, you should maintain a high humidity level during the lockdown and avoid opening the nest box or incubator unnecessarily. To help a shrink-wrapped duckling, you should wet the membrane with warm water using a Q-tip and gently peel it off the duckling.
- Malpositioned ducklings. This is when the duckling is in an abnormal position inside the egg, such as head in the small end, head under the wing, or feet overhead. This can be caused by genetic defects, poor egg quality, or improper turning. To prevent this, you should choose good quality eggs, turn them regularly, and avoid jarring or shaking them. To help a malpositioned duckling, you should assist it carefully by following the steps above, but be aware that some malpositions are fatal and cannot be corrected.
- Unabsorbed yolk sacs. This is when the duckling fails to absorb the yolk sac completely before hatching. This can be caused by early hatching, infection, or genetic defects. To prevent this, you should avoid forcing or rushing the hatching process and keep the nest box or incubator clean and disinfected. To help a duckling with an unabsorbed yolk sac, you should leave it in the shell as long as possible and let it absorb naturally. If it does hatch with an unabsorbed yolk sac, you should keep it warm and isolated from other ducklings until it heals.
Feeding and Housing Call Ducklings
The fourth step to hatching call duck eggs is to feed and house the ducklings properly. Once they are dry and active, you can move them from the nest box or incubator to a brooder. A brooder is a safe and comfortable place where you can keep your ducklings warm, fed, watered, and entertained until they are old enough to go outside.
Brooder
A brooder can be made from various materials such as a cardboard box, a plastic tub, a wire cage, or a wooden crate. It should be large enough to accommodate your ducklings comfortably and allow them to move around freely. It should also have a secure lid or cover to prevent them from escaping or being attacked by predators.
You will need to provide some bedding for your brooders such as straw, hay, wood shavings, or shredded paper. You should avoid using materials that are slippery, dusty, or moldy as they can cause health problems for your ducklings. You should also change the bedding regularly to keep it clean and dry.
You will need to provide a heat source for your brooders such as a heat lamp, a heating pad, or a hot water bottle. You should aim for a temperature of 95°F (35°C) for the first week of life, and then reduce it by 5°F (3°C) each week until they are fully feathered (around 6 weeks old). You should monitor the temperature with a thermometer and adjust it as needed. You should also provide some cooler areas in the brooder where your ducklings can escape if they feel too hot.
You will need to provide some food and water for your brooders such as starter crumbs and fresh water. You should use feeders and drinkers that are suitable for ducklings’ size and shape. You should avoid using feeders and drinkers that are too deep or too narrow as they can cause drowning or choking hazards for your ducklings. You should also keep them clean and filled at all times.
You will need to provide some toys and enrichment for your brooders such as pebbles, balls, mirrors, or stuffed animals. These will keep your ducklings entertained and prevent boredom and stress. You should also provide some perches or ramps for your ducklings to climb on and explore.
Food and Water
The best food for call ducklings is waterfowl starter crumbs. These are specially formulated for young waterfowl and contain all the nutrients they need to grow healthy and strong. You should avoid feeding your ducklings any food that is not made for ducks, such as chicken feed, bread, or human food. These can cause health problems for your ducklings such as angel wings, niacin deficiency, or obesity.
You should provide your ducklings with fresh water at all times. You should use drinkers that are shallow and wide enough for your ducklings to dip their bills and nostrils in. This will help them keep their eyes and nostrils clean and prevent infections. You should also change the water regularly to keep it clean and fresh.
You can also provide your ducklings with some treats such as chopped greens, peas, corn, or mealworms. These will add some variety and interest to their diet and help them learn to forage. You should only give treats in moderation and make sure they are suitable for ducks.
Swimming
Call ducklings love to swim and splash in the water. Swimming is good for their physical and mental health and helps them develop their waterproof feathers and muscles. However, you should not let your ducklings swim unsupervised or in cold water until they are fully feathered (around 6 weeks old). Before that, you should follow these tips:
- Only let your ducklings swim in warm water (around 80°F or 27°C) for short periods of time (10-15 minutes).
- Only let your ducklings swim in a shallow container that they can easily get in and out of, such as a plastic tub or a kiddie pool.
- Only let your ducklings swim under your supervision and watch out for signs of distress or hypothermia, such as shivering, panting, or lethargy.
- Dry your ducklings thoroughly with a towel after each swim and return them to the brooder to warm up.
Introducing Call Ducklings to Adult Ducks
The fifth step to hatching call duck eggs is to introduce the ducklings to the adult ducks. This can be a tricky process as adult ducks can be territorial and aggressive towards newcomers. You should wait until your ducklings are at least 8 weeks old before you attempt to introduce them to the adult ducks. Before that, you should follow these tips:
- Keep your ducklings in a separate pen or enclosure near the adult ducks’ pen or enclosure. This will allow them to see, hear, and smell each other without direct contact. This will help them get used to each other’s presence and reduce stress.
- Swap some bedding or feathers between the ducklings’ pen and the adult ducks’ pen. This will help them get used to each other’s scent and reduce aggression.
- Let your ducklings free range with the adult ducks under your supervision for short periods of time. This will help them learn to socialize and interact with each other in a neutral environment. You should watch out for any signs of bullying or fighting and intervene if necessary.
- Gradually increase the time and frequency of free-ranging until your ducklings and adult ducks are comfortable with each other. This may take several days or weeks depending on individual factors.
- Move your ducklings into the adult ducks’ pen or enclosure permanently once they are fully integrated. You should provide enough space, food, water, shelter, and hiding places for all your ducks to coexist peacefully.
Conclusion
Hatching call duck eggs and raising ducklings can be a rewarding and enjoyable experience. However, it can also be challenging and demanding as call ducks are one of the most difficult breeds of ducks to hatch and raise successfully. You will need to follow some specific steps and tips to increase your chances of success.
To hatch call duck eggs and raise ducklings, you will need to:
- Choose the right eggs and incubator
- Incubate call duck eggs properly
- Wait for them to hatch
- Feed and house call ducklings properly
- Introduce call ducklings to adult ducks
By following these steps and tips, you will be able to hatch call duck eggs and raise healthy, happy, cute call ducklings!