
Table of Contents
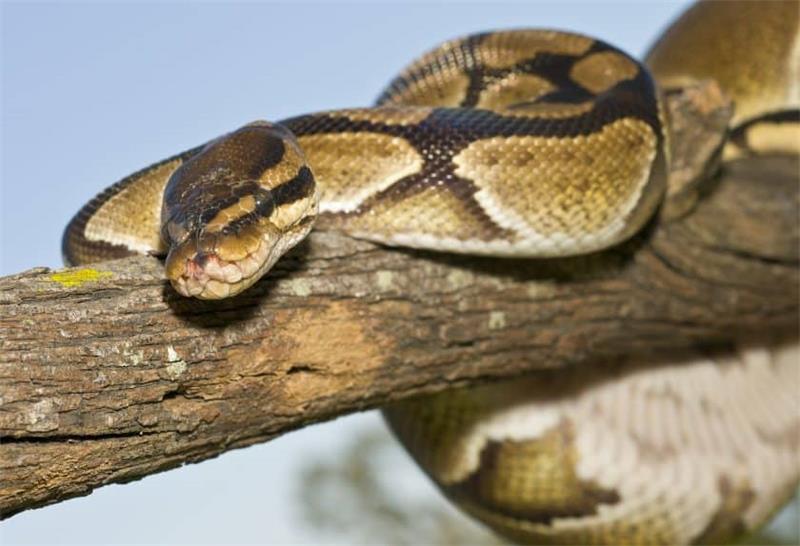
Ball pythons are one of the most popular snakes for reptile enthusiasts of all skill levels. Many keepers breed ball pythons because they want to expand their collection or want a hobby. Ball pythons breed well in captivity. This has allowed hobbyists to develop a wide variety of morphs. Morphs are bred from two ball pythons with preferred traits (e.g. color or pattern).
Breeding ball pythons require knowledge of python behavior and genetics. If pairing mistakes happen then morphs can be born with inherited neurological problems. If you want to breed your own morphs then keep reading to learn how to assess, pair, incubate and hatch.
Preparing your ball pythons for mating
Before you attempt to breed your ball pythons, you need to make sure they are healthy, mature and compatible. Here are some steps you need to take to prepare your ball pythons for mating:
1. Determine the sex of your ball pythons
It is important that you know the sex of your ball pythons before you try to breed them. You don’t want to waste time and resources on two males or two females. The most reliable way to determine the sex of a ball python is by probing. Probing involves inserting a metal rod into the cloaca (the vent at the back of the snake) and measuring how deep it goes. Male ball pythons have longer hemipenes (reproductive organs) that extend beyond the cloaca, while females have shorter oviducts that end near the cloaca.
Probing should be done by an experienced breeder or veterinarian, as it can be dangerous for the snake if done incorrectly. Alternatively, you can use a less invasive method called popping, which involves applying gentle pressure on the cloaca to expose the hemipenes or oviducts. However, this method is not always accurate and can also harm the snake if done too forcefully.
2. Make sure they are old enough and large enough to breed
Ball pythons need to reach a certain age and weight before they are ready to breed. Breeding too young or too small can cause health problems for both the parents and the offspring. A general rule of thumb is that male ball pythons should be at least one year old and weigh over 700 grams (24.7 oz), while female ball pythons should be at least three years old and weigh over 1700 grams (60 oz). However, these are not strict guidelines and some ball pythons may be ready to breed earlier or later than others.
To determine if your ball pythons are ready to breed, you should monitor their body condition and behavior. A healthy ball python should have a good body form, with a rounded spine and well-defined muscles. A skinny or obese ball python may have difficulty breeding or producing healthy eggs. A male ball python that is ready to breed will also show signs of sexual maturity, such as expressing a sperm plug (a white, cheesy matter that comes out of the cloaca) or showing interest in female scents.
3. Choose compatible pairings
Once you have determined that your ball pythons are ready to breed, you need to choose which ones to pair together. This depends on what kind of morphs you want to produce and what genes your ball pythons carry. Ball python genetics can be complex and confusing, but there are some basic principles you need to know:
- Ball pythons have two copies of each gene, one from each parent.
- Some genes are dominant, meaning they will always show up in the offspring regardless of what the other gene is.
- Some genes are recessive, meaning they will only show up in the offspring if both parents carry them.
- Some genes are co-dominant, meaning they will show up in the offspring in a blended form if one parent carries them, or in a more extreme form if both parents carry them.
- Some genes are linked, meaning they tend to be inherited together.
To choose compatible pairings, you need to know what genes your ball pythons have and what genes you want your offspring to have. You can use online tools such as MorphMarket’s Genetic Calculator (https://www.morpharket.com/c/reptiles/pythons/ball-pythons/genetic-calculator) to help you calculate the possible outcomes of your pairings.
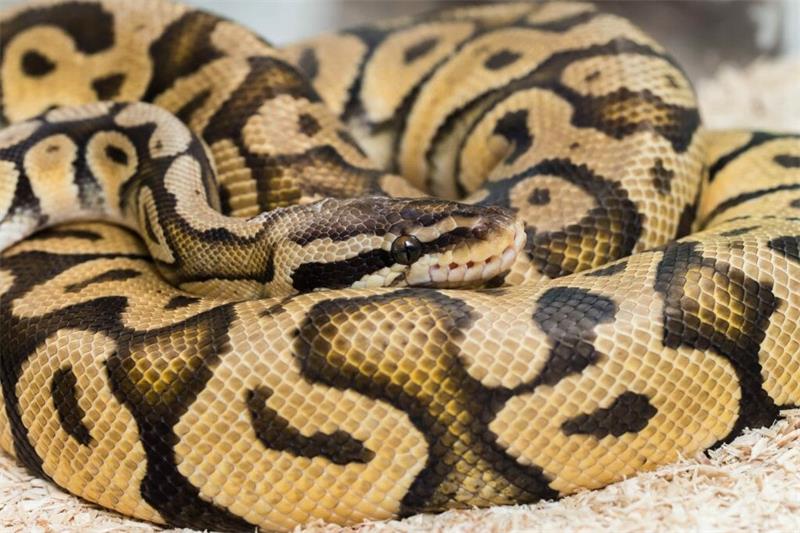
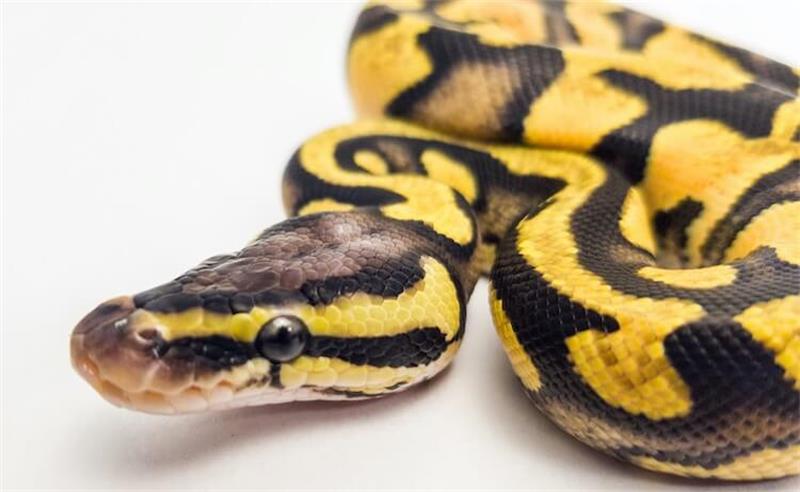
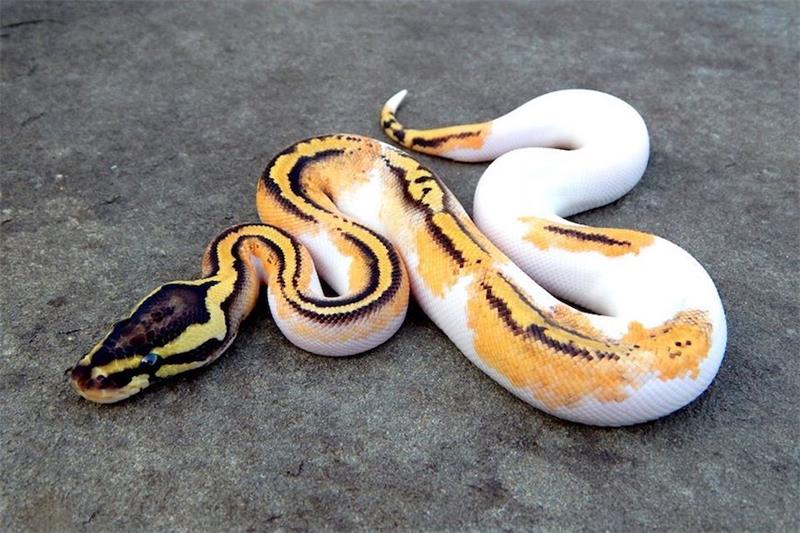
Some examples of popular ball python morphs are:
- Banana: A bright yellow morph with black or brown spots and red eyes.
- Albino: A white or cream morph with yellow patches and red eyes.
- Spider: A tan or light brown morph with thin black or brown bands that resemble spider legs.
- Piebald: A white or cream morph with random patches of normal coloration.
- Pastel: A light brown or blushing morph with pale green eyes and white lips.
There are many more ball python morphs to choose from, so do your research and find the ones that appeal to you the most.
4. Provide a cooling-off period
Ball pythons are native to Central Africa, where they experience seasonal changes in temperature and rainfall. These changes affect their reproductive cycle and trigger them to breed. In captivity, you need to mimic these natural conditions by providing a cooling-off period for your ball pythons.
The cooling-off period should start around September and last until December. During this time, you need to lower the ambient temperature of your ball python’s enclosure at night to about 75°F (24°C). The warm spot should also be reduced to about 82°F (28°C) at night. During the day, you can return the temperatures to normal (about 88°F or 31°C for the warm spot and 80°F or 27°C for the ambient).
The cooling-off period signals to your ball pythons that winter is coming and that they need to prepare for spring breeding. It also helps them build up their fat reserves and energy levels for mating and egg production.
5. Introduce the male and female
After the cooling-off period, you can start introducing the male and female ball pythons to each other. You can do this by placing them in the same enclosure for a few days, then separating them for a few days. Repeat this process until you observe a successful lock.
A lock is when the male wraps his tail around the female’s tail and inserts one of his hemipenes into her cloaca. This is how they mate and transfer sperm. A lock can last from a few minutes to several hours. You can tell if a lock has occurred by looking at the position of their tails. If they are aligned and intertwined, they are locked.
You may need to try different males with different females until you find a compatible pair. Some ball pythons may be more picky or aggressive than others. You should always monitor their interactions and separate them if they show signs of stress or aggression.
Incubating the eggs
After mating, the female ball python will start developing eggs inside her body. This process can take several weeks or months, depending on the individual snake. During this time, you need to provide optimal care and conditions for your gravid (pregnant) female.
1. Provide a nesting box
A nesting box is a hide box filled with a moist substrate that provides a safe and comfortable place for your female ball python to lay her eggs. You should provide a nesting box for your female about two weeks after ovulation.
Ovulation is when the female’s body releases eggs from her ovaries into her oviducts. You can tell if your female has ovulated by looking at her body shape. She will have a noticeable bulge in her midsection that looks like she swallowed a large egg. She may also become restless and move around more than usual.
You can use any kind of hide box that is large enough for your female to fit inside comfortably. You can fill it with damp sphagnum moss, vermiculite, perlite, or paper towels. The substrate should be moist but not wet, as too much moisture can cause mold or rot.
Place the nesting box on the warm side of the enclosure and make sure it has an entrance that is easy for your female to access. You should also maintain a temperature gradient in the enclosure, with a warm spot of about 88°F (31°C) and an ambient temperature of about 80°F (27°C).
2. Wait for the pre-lay shed
About two to three weeks after ovulation, your female ball python will go through a pre-lay shed. This is when she sheds her skin before laying her eggs. This is a sign that she is getting ready to lay her eggs soon.
You can tell if your female is in a pre-lay shed by looking at her eyes and skin. Her eyes will become cloudy and blue, and her skin will become dull and faded. She will also become less active and more secretive, spending most of her time in the nesting box.
The pre-lay shed usually lasts for about a week. After she sheds her skin, she will lay her eggs within a few days. You should not disturb or handle your female during this time, as she may become stressed or defensive.
3. Collect and candle the eggs
When your female ball python lays her eggs, she will coil around them to protect them and keep them warm. This is called maternal incubation. However, most breeders prefer to remove the eggs from the female and incubate them artificially. This is because artificial incubation gives you more control over the temperature and humidity of the eggs, and reduces the risk of infection or predation.
To collect the eggs from your female, you need to be gentle and careful. You should wear gloves to protect your hands from any bites or bacteria. You should also have a plastic container ready to hold the eggs. The container should have air holes on the lid and a layer of moist substrate (such as vermiculite or perlite) on the bottom.
To remove the eggs from your female, you need to gently uncoil her from them. You can start from the tail end and work your way up. You can also use a spray bottle of warm water to mist her and make her loosen up. Be patient and respectful of your female, as she may be reluctant to let go of her eggs.
Once you have removed all the eggs from your female, you need to handle them. Candling is a process of shining a light through the eggs to check their viability and orientation. You can use a flashlight or a special candling device for this purpose.
To candle an egg, you need to hold it gently in one hand and shine the light through it from the other side. You should see a network of red veins inside the egg, which indicates that it is fertile and healthy. You should also see an air bubble at one end of the egg, which indicates where the embryo’s head is located.
You should mark the top of each egg with a non-toxic marker or a pencil. This will help you keep track of their orientation and prevent you from rotating them accidentally. Rotating the eggs can harm or kill the embryos inside.
4. Incubate the eggs
After candling and marking the eggs, you need to incubate them in a plastic container. You can either place the eggs directly on the moist substrate, or use plastic egg trays or deli cups to separate them. Some breeders prefer to keep the eggs together in their original shape, while others prefer to separate them for better air circulation and humidity control.
You should maintain a constant temperature of about 88°F (31°C) and a humidity level of about 60% in the container. You can use a digital thermometer and hygrometer to monitor these conditions. You can also use an incubator machine or a homemade incubator box to provide heat and insulation for the container.
You should check on the eggs every day and make sure they are not too wet or too dry. If they are too wet, they may develop mold or rot. If they are too dry, they may shrink or collapse. You can adjust the moisture level by adding or removing water from the substrate.
You should also candle the eggs every week or so to check their development and viability. You should see the veins grow and the air bubble move as the embryos grow and move. You should also see the eggs become more opaque and round as they approach hatching.
The incubation period for ball python eggs is usually between 52 to 60 days, depending on the temperature and humidity. You should be prepared for the eggs to hatch at any time within this range.
Caring for the hatchlings
When the eggs are ready to hatch, you will see small slits or holes in the shells. This is when the hatchlings use their egg tooth (a small sharp projection on their snout) to cut their way out of the eggs. This process can take several hours or days, depending on the individual snake.
You should not interfere with the hatching process, unless you see an egg that has not pipped after 24 hours of the first one. In this case, you can carefully cut a small slit on the egg with a sterile scalpel or scissors, and check if the hatchling is alive and healthy. If it is, you can leave it alone to emerge on its own. If it is not, you can try to assist it by gently pulling it out of the egg.
Once all the hatchlings have emerged from their eggs, you need to provide them with proper care and conditions. Here are some steps you need to take to care for your ball python hatchlings:
1. Set up individual enclosures
You should set up individual enclosures for each hatchling, as they may be cannibalistic or competitive with each other. You can use plastic shoe boxes or small terrariums for this purpose. Each enclosure should have a secure lid, a heat source, a hide box, a water dish, and a substrate.
The heat source should provide a warm spot of about 88°F (31°C) and an ambient temperature of about 80°F (27°C). You can use a heat mat, a heat lamp, or a ceramic heat emitter for this purpose. You should also use a thermostat to regulate the temperature and prevent overheating.
The hide box should be large enough for the hatchling to fit inside comfortably and feel secure. You can use any kind of hide box that is dark and cozy, such as a plastic container, a cardboard box, or a cork bark.
The water dish should be shallow and sturdy enough to prevent tipping over. You should provide fresh water every day and clean the dish regularly.
The substrate should be safe and easy to clean. You can use paper towels, newspaper, aspen shavings, or coconut fiber for this purpose. You should avoid using substrates that are dusty, sharp, or sticky, such as sand, gravel, or pine shavings.
2. Wait for their first shed
You should not feed your ball python hatchlings until they have their first shed. This is because they still have some yolk in their stomachs that provides them with nutrition and energy. Feeding them too soon may cause digestive problems or regurgitation.
The first shed usually occurs within one or two weeks after hatching. You can tell if your hatchling is in shed by looking at its eyes and skin. Its eyes will become cloudy and blue, and its skin will become dull and faded. It will also become less active and more secretive.
You should provide your hatchling with adequate humidity during its shed cycle. You can do this by misting its enclosure daily or providing a humid hide box filled with moist sphagnum moss or paper towels.
After your hatchling sheds its skin, you can start offering it food.
3. Offer them food
You should offer your ball python hatchlings food once a week. The food should be appropriately sized for their mouth and body size. You can use live or frozen-thawed mice or rats for this purpose.
To feed your hatchling live prey, you need to place it in its enclosure and monitor its reaction. If it shows interest and strikes at it, you can leave it alone to finish its meal. If it shows no interest or fear, you can remove the prey and try again later.
To feed your hatchling frozen-thawed prey, you need to thaw it in warm water until it reaches room temperature. You can then use tongs or tweezers to dangle it in front of your hatchling and mimic its movements. If your hatchling strikes at it, you can let go of the prey and let it swallow it. If your hatchling ignores it or spits it out, you can try again later.
You should not handle or disturb your hatchling for at least 48 hours after feeding, as it may regurgitate its meal. You should also clean its enclosure regularly and remove any uneaten food or waste.
4. Monitor their growth and health
You should monitor your ball python hatchlings’ growth and health regularly. You can weigh them every month and measure them every three months. You can use a digital scale and a measuring tape for this purpose.
A healthy ball python hatchling should grow about an inch per month and gain about 10 grams per month. However, these are not strict guidelines and some ball pythons may grow faster or slower than others.
You should also check your hatchling for any signs of illness or injury. Some common health issues that may affect ball pythons are:
- Respiratory infections: These are caused by bacteria or viruses that affect the lungs and airways. Symptoms include wheezing, sneezing, nasal discharge, lethargy, and loss of appetite.
- Mites: These are tiny parasites that feed on the blood of snakes. Symptoms include itching, redness, scabs, dehydration, anemia, and stress.
- Scale rot: This is a bacterial infection that affects the scales and skin. Symptoms include blisters, ulcers, swelling, pus, and foul odor.
- Inclusion body disease: This is a viral infection that affects the nervous system and organs. Symptoms include stargazing, head wobbling, regurgitation, weight loss, and death.
If you notice any of these symptoms or any other abnormal behavior in your hatchling, you should consult a reptile veterinarian as soon as possible.
Conclusion
Breeding ball pythons can be a rewarding and exciting experience for any snake lover. However, it also requires a lot of time, effort, and knowledge. You need to prepare your ball pythons for mating, incubate their eggs, and care for their hatchlings properly.
By following the steps outlined in this article, you can increase your chances of success and enjoy the process of creating your own ball python morphs. Remember to always do your research and seek professional advice if you have any questions or concerns.